Create a Countdown Timer for Events That Wows
Learn how to create a countdown timer for events that builds real anticipation. Our guide covers design, customization, and embedding to boost your marketing.
A countdown timer is so much more than just a ticking clock—it's one of the most effective psychological tools you can use to build real anticipation and drive people to act. By creating a tangible sense of urgency, you can turn passive interest into active engagement. For event marketers, that’s pure gold.
Why Countdown Timers Are an Event Marketing Powerhouse
Before we jump into the "how," let's talk about the "why." A well-placed countdown timer taps directly into something we all feel: the fear of missing out (FOMO). It’s a powerful motivator that pushes people to make decisions instead of putting them off.
Think about it. A simple visual cue transforms some abstract date in the future into a concrete, fast-approaching deadline. This completely shifts the mindset of a potential attendee from "I'll check this out later" to "I need to act now." That little psychological nudge is invaluable for boosting your key event metrics.
Building Urgency and Anticipation
Imagine you’re launching a webinar. You could just list the date for your early-bird discount, or you could put a countdown timer right on the landing page. Suddenly, it’s not just information; it’s a dynamic, visual reminder that time is literally running out. This simple trick can dramatically increase your initial registrations and give your event that crucial early momentum.
The power of this urgency isn’t just a marketing gimmick; it's a proven concept. Just look at the global market for traffic signal countdown timers—a technology designed purely to manage public flow and safety. In 2024, that market was valued at around USD 450 million and is expected to hit USD 841.33 million by 2033. This growth shows just how effective countdowns are at coordinating action on a massive scale.
Strategic Applications for Your Events
The best part about countdown timers is their versatility. They can be adapted to almost any marketing goal, as long as you think strategically. To get the most out of your timer, consider how it slots into your bigger marketing plan and your overall event planning timeline template.
Not sure where to start? Here are a few scenarios where a timer absolutely shines:
- Product Launches: Build viral buzz in the weeks leading up to a new product drop.
- Ticket Sales: Announce a price increase or the end of an early-bird tier to drive immediate conversions.
- Webinar Registrations: Remind your audience that seats are limited and the start time is just around the corner.
- Conference Openings: Generate last-minute excitement right before your event goes live, directing attendees to the virtual lobby or main stage.
A great way to choose the right timer is to match it to your specific goal. This quick reference table breaks down the common types and where they work best.
Timer Types and Their Strategic Uses
| Timer Type | Best For | Primary Goal | | :--- | :--- | :--- | | Standard Countdown | Website landing pages, email campaigns | Driving registrations or sales before a deadline. | | Evergreen Timer | Automated funnels, personalized offers | Creating urgency for individual users at any time. | | Event Start Timer | Virtual event lobbies, live streams | Building excitement in the final moments before an event begins. | | Repeating Timer | Recurring sales, weekly webinars | Promoting ongoing events or offers with a regular cycle. |
Ultimately, picking the right timer for the job ensures your message of urgency lands with maximum impact.
A timer does more than just count down the seconds; it frames the value of what you're offering. By signaling that an opportunity is finite, you inherently make it seem more valuable in the eyes of your audience.
By placing these timers in the right spots, you can guide your audience through the registration funnel with a gentle but persistent push. For anyone looking to get started quickly, exploring an event countdown app is the way to go—it gives you all the features you need to hit the ground running.
Your First Steps with the Countdown Timer App
Alright, this is where the magic happens. We're moving from just talking about strategy to actually building something. Getting started inside the Countdown Timer App is super straightforward—it’s designed to get you from zero to a working timer in minutes.
We’re going to skip the generic product tour and jump right into the practical stuff that really matters. Getting these initial settings right makes all the creative and styling work down the line much, much smoother. Think of it as laying a solid foundation for your countdown timer for events.
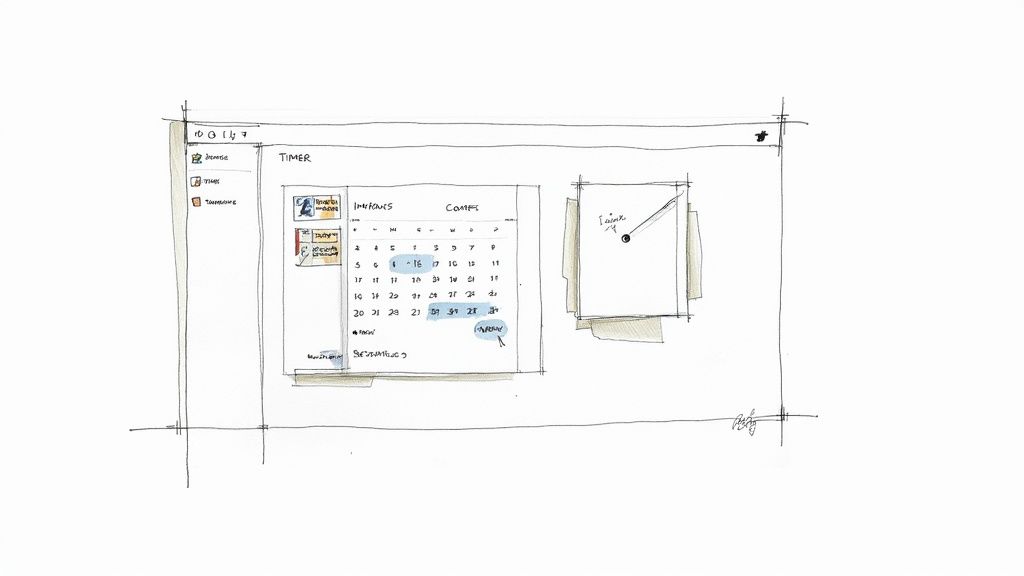
Navigating the Dashboard and Naming Your Timer
Once you’re logged in, you’ll see the main dashboard. First things first: let's create and name your timer. This might seem like a small detail, but if you're running multiple campaigns, good naming is your secret weapon for staying organized.
Please, do yourself a favor and avoid generic names like "New Timer." Be descriptive!
- For a webinar: "Q3 Marketing Webinar - Early Bird"
- For a product launch: "Project Phoenix Launch - T-Minus 7 Days"
- For a flash sale: "Black Friday 24-Hour Flash Sale"
Trust me, this little habit will save you from clicking into every single project just to find the one you need, especially as your list of timers starts to grow. It’s a simple trick that pays off big time in efficiency.
Setting the Correct Date and Time Zone
Now for what is easily the most critical part of the whole setup: the date and time zone. This is where most mistakes happen, and a simple error here can completely undermine your campaign. A timer that ends at the wrong time just creates confusion and can absolutely kill your conversions.
When you pick your event's end date, the app will ask for a time zone. Do not skip this. It’s so easy to just assume it defaults to your local time, but your audience could be anywhere in the world.
Always select the specific time zone your event is targeted for. If you're running a nationwide sale in the U.S., you might choose EST or PST, but be explicit about it in your marketing copy to avoid any confusion.
Getting this right from the start ensures your countdown is perfectly accurate for every single person who sees it. That builds trust and keeps your promotion looking professional.
Choosing Your Starting Template
With the technical details locked in, it’s time to make your first creative choice—picking a template. The Countdown Timer App gives you a bunch of pre-designed templates to use as a starting point.
Don't overthink this part. The goal isn't to find the perfect match right away. You're just looking for a layout that has the right bones for what you need.
Think about these things when you're browsing:
- Layout: Do you need a long, horizontal timer for a banner? Or maybe a more compact, square design for a sidebar?
- Information Display: Does the template show days, hours, minutes, and seconds clearly? Is it easy to read at a glance?
- Overall Vibe: Does the style feel modern, classic, or a bit more playful? Pick one that feels close to your brand’s personality.
Remember, every single part of the template—from the colors and fonts to the background—is completely customizable in the next stage. Picking a template is just about choosing a solid framework to build on. In just these few steps, you've already got a functional, correctly-timed countdown that's ready for its visual transformation.
Designing a Timer That Embodies Your Brand
Let's be honest, a generic, out-of-the-box timer just ticks. But a well-designed countdown timer for events? That’s a whole different story. It starts communicating your brand’s vibe long before the event even kicks off. Think of it as your first digital handshake with attendees—it needs to feel like a natural part of your event's identity.
This is where you get to move beyond the basics and really start crafting a visual experience. The Countdown Timer App gives you a full suite of customization options, so you can fine-tune every little detail and make sure your timer is anything but generic.
Matching Your Brand Palette with Precision
Color consistency is everything for brand recognition. Instead of settling for a color that’s just "close enough," you can plug in the exact HEX codes to perfectly match your brand’s palette. This simple step ensures your timer integrates seamlessly with your website, landing pages, and all your other marketing materials.
For example, if your event’s primary color is a specific shade of blue like #0A4D68, you can apply that exact code to the timer's background or digits. It's a small detail, but it makes a huge difference. It transforms the timer from a random third-party widget into a cohesive part of your brand.
Selecting Fonts That Convey Your Tone
Fonts have personality. A sleek, sans-serif font like Montserrat might be perfect for a tech conference, giving off a modern and professional vibe. On the other hand, an elegant script font could be the ideal choice for a wedding countdown, adding a touch of romance and sophistication.
Think about the feeling you want to create:
- Corporate and Professional: Go for clean, readable fonts like Lato or Open Sans.
- Casual and Fun: Playful fonts like Poppins can add a friendly, approachable feel.
- Elegant and Exclusive: Serif fonts or refined scripts can create a sense of luxury.
Choosing the right font is about more than just looking good; it's about aligning the timer's visual voice with your event’s core message. You can find more inspiration for styling your timer in our guide to creating a customizable countdown clock.
A thoughtfully designed timer does more than just display time—it reinforces brand trust. When every visual element, from color to font, is consistent with your brand, it tells your audience that you care about the details and the quality of their experience.
This level of precision is becoming more and more important. The broader market for timing devices, which includes things like outlet timers used in event automation, was valued at around USD 1.44 billion in 2024. It's projected to hit USD 2.06 billion by 2033. This growth shows a universal demand for precise, reliable timing solutions that improve user experiences—a principle that applies directly to your event timer’s design. You can dig into more insights in the full outlet timer market report.
Advanced Styling for Maximum Impact
Beyond just colors and fonts, you can tweak other key elements to create a truly unique look. Don't be afraid to experiment with the timer's size, background, and labels to see what really grabs your audience’s attention.
Here are a few advanced customizations to consider:
- Adjusting Timer Size: Make the timer larger to serve as a bold centerpiece on your landing page. Or, you could shrink it down for a subtle, persistent reminder in your website's header.
- Adding a Background Image: Instead of a solid color, why not use a compelling image from a past event? A graphic that hints at the theme of your upcoming one also works great.
- Customizing Labels: Change the default "Days," "Hours," and "Minutes" labels to something more creative. You could even translate them into a different language to better connect with a global audience.
By combining all these elements, you can take a standard timer and transform it into a powerful, branded marketing asset that gets people excited.
Embedding Your Timer for Maximum Visibility
Alright, your timer looks fantastic—now it's time to get it in front of people. A great countdown timer for events doesn't do much good if nobody sees it, right? This is where we shift from design to deployment, putting your timer live on your website to start building that all-important buzz.
Don't worry, this part is way simpler than it sounds. The Countdown Timer App generates a tiny piece of code—often called a snippet—that you just copy and paste into your site. It's built to be super lightweight, so it won’t slow your page down or mess with the user experience.
Getting Your Embed Code
Once you've saved your design in the app's dashboard, just look for a "Publish" or "Embed" button. Give that a click, and you'll see the code snippet you need. This little block of HTML and JavaScript holds all the instructions for your browser to display and run the timer perfectly.
All you have to do is hit the "Copy" button. That's it! You're ready to add it to your website.
The hard part is already done. Your timer's core design—its colors, font, and size—is locked in. This infographic gives a quick recap of that simple 3-step design flow.
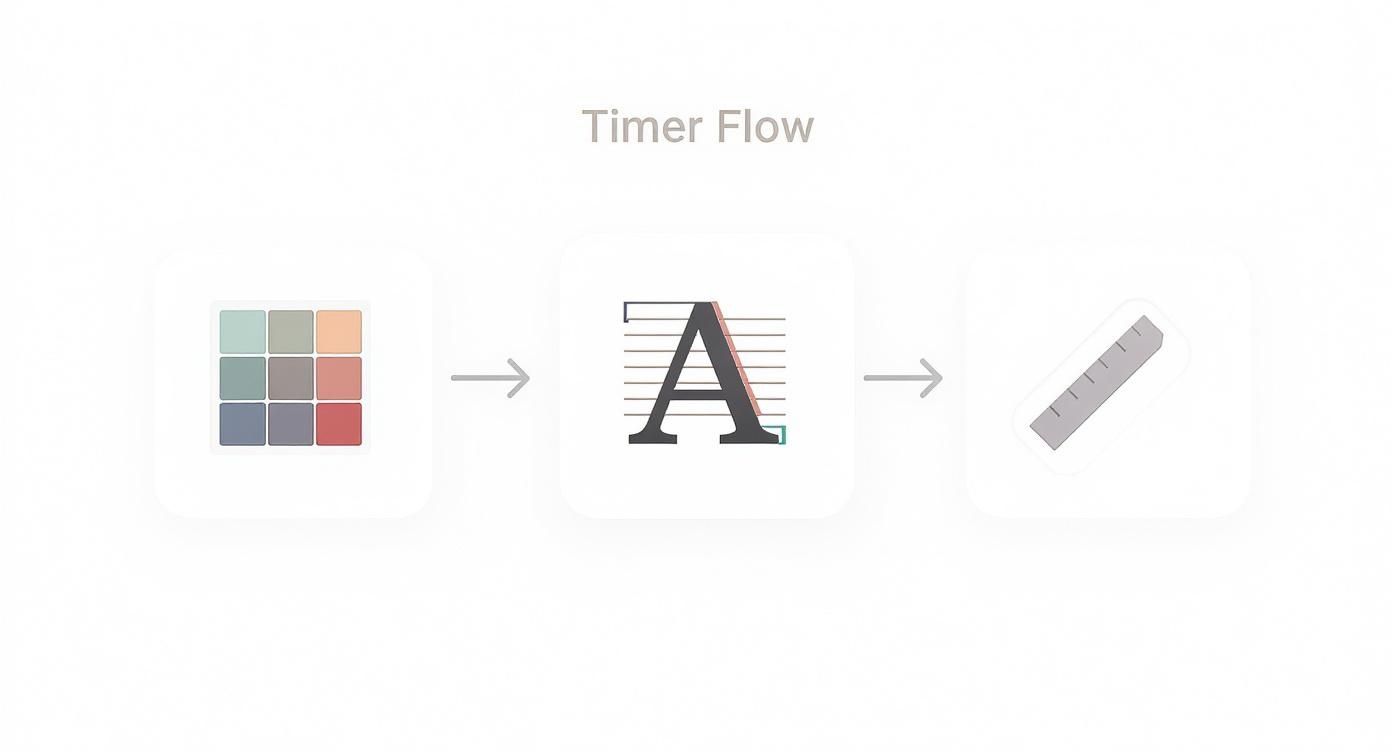
As you can see, getting these three elements right is what makes a timer feel like a seamless part of your brand.
Where to Place Your Timer on Different Platforms
The exact steps for embedding can vary a little depending on your website builder, but the main idea is always the same: find where you can add custom HTML. Most modern platforms make this incredibly easy.
Here's a quick rundown for the most common ones:
- WordPress: The easiest method is to use a "Custom HTML" block in the editor. Just add the block to your page or post and paste the snippet right in.
- Shopify: You can add the timer just about anywhere—product descriptions, homepage sections, or announcement bars. Just jump into the theme editor and look for a "Custom Liquid" or "HTML" option.
- Squarespace: This one's a breeze. Use a "Code Block" element. Drag it where you want the timer to show up, then paste your code into the block.
If you hit a snag, our detailed guide on how to embed a countdown timer in a website has more specific walkthroughs and troubleshooting tips for different platforms.
Strategic Placement for Maximum Impact
Now for the million-dollar question: where should this timer actually go? Your placement strategy can make or break its effectiveness. You need it somewhere people can't miss, but not so in-your-face that it's annoying.
Key Takeaway: Place your timer "above the fold"—that's the area of your page a visitor sees without having to scroll. Countless studies show that content here gets the most attention, which is exactly what you want for your timer.
Think about these high-impact spots:
- Announcement Bar: A slim banner at the very top of your site is perfect for site-wide promotions, like a flash sale or an early-bird ticket special. It's always visible but doesn't get in the way.
- Hero Section of a Landing Page: Put the timer right under the main headline on your event's landing page. This makes it the star of the show and immediately signals urgency.
- Within a Product or Event Block: If the countdown is for a specific item or event, placing it right inside that product's section on the page keeps the context clear and the call-to-action strong.
By picking the perfect spot, you ensure your timer does more than just count down—it actively drives the results you’re looking for.
Take Your Countdown to the Next Level
A sharp-looking, embedded timer is a fantastic start, but let's be honest, that's just scratching the surface. The real magic happens when your countdown becomes an active player in your entire marketing strategy.
Think of it less as a simple visual and more as an automated tool that pokes your audience at just the right moments—even when you’re offline. Let’s look at how to weave your timer into other marketing channels to create a seamless experience for everyone, from the first announcement until well after the clock hits zero.
Sync Up with Your Email Marketing
Pairing your countdown with email is a classic for a reason: it works. Instead of just dropping the event date into a newsletter, you can build an entire email sequence that mirrors the timer’s milestones. This creates a steady drumbeat of urgency that ramps up as the event gets closer.
This approach gives you multiple touchpoints and keeps your event from getting lost in a crowded inbox. Try scheduling emails to go out at key intervals that match the timer.
- 7 Days Out: This is your "final week" heads-up. Remind them of the best speakers or the biggest benefits of attending.
- 72 Hours Left: Time to dial up the pressure. Use scarcity-driven language like, "Only a handful of seats are left!"
- Final 24-Hour Push: This is your most important email. A direct, urgent subject line—think "Our event kicks off in 24 hours!"—can drive a significant wave of last-minute sign-ups.
When you synchronize your emails this way, your timer stops being just a passive widget and starts actively driving your campaign forward.
A timer isn't just a clock; it's a storytelling device. Each milestone—a week, a day, an hour—is a new chapter in your event's narrative, and your marketing messages should reflect that building excitement.
Set Up a Powerful After-Event Action
What happens the second your countdown ends? So many marketers miss this golden opportunity. Instead of letting the timer just fizzle out and disappear, you can set it to perform an immediate, automated action that tells your audience exactly what to do next.
Inside the Countdown Timer App, you can configure an "after-event" message or action. The moment the clock strikes 00:00:00, it can instantly:
- Redirect to a Live Stream: Perfect for sending visitors straight to your webinar, virtual conference, or live Q&A. No confusion, no extra clicks.
- Display a "Sale is Live!" Message: The timer vanishes and is replaced by a bold announcement and a "Shop Now" button.
- Show a "Sorry You Missed It" Notice: For anyone who shows up late, you can direct them to a waitlist for the next event or offer to send them a recording.
This feature transforms your timer into a smart tool that manages the user journey all on its own. To really get the most out of it, you can work your countdown's progress into broader social media content packages, keeping your message consistent everywhere people see it.
The power of countdowns to direct public attention is bigger than you might think. Just look at a related industry: the traffic light countdown timer market was valued at USD 2 billion in 2025 and is expected to blow past USD 3.5 billion by 2033. This growth shows a universal truth: countdowns are incredibly effective at guiding human action, a principle you can apply directly to your own digital events. You can learn more about this expanding market on datainsightsmarket.com.
Your Top Countdown Timer Questions, Answered
Even with a tool as straightforward as this one, a few questions always pop up. When you're in the middle of setting up a countdown timer for events, it’s natural to wonder about the little details. Let’s tackle some of the most common ones I hear, especially about what happens when the clock hits zero and whether the timer will mess with your website's speed.
What Happens When the Countdown Reaches Zero?
This is where the magic really happens, and you're in complete control. The moment the countdown ends is a huge opportunity to guide your audience. Inside the Countdown Timer App settings, you have a few powerful choices for what happens next:
- Make the timer disappear: Simple and clean. The timer just vanishes, leaving your regular page content visible.
- Show a custom message: You can instantly swap the timer with a message like "The Event is Live!" or "The Sale Has Officially Begun!"
- Redirect to another page: This one is a game-changer. You can automatically send visitors to a new URL—maybe your live stream page, a special product offer, or a registration form.
This isn't just a timer; it's a tool for creating a seamless user journey. You get to guide your audience to the next logical step without them having to lift a finger.
Will Embedding a Timer Slow Down My Website?
I get this question a lot. Website performance is a huge deal, but you can relax on this one. The Countdown Timer App was built from the ground up to be incredibly lightweight.
The embed code loads asynchronously.
What does "asynchronously" actually mean? In simple terms, it means our timer code loads independently of everything else on your page. It won’t hold up your text, images, or other critical content. The impact on your site’s speed is designed to be so small you’ll never even notice it.
Can I Use a Live Timer in My Email Newsletters?
This is a tricky one. Directly embedding a live, ticking JavaScript timer into an email is a no-go for most email clients. Major players like Gmail and Outlook block this kind of active code for security reasons, and it’s a universal limitation.
But there’s a really smart workaround that works just as well.
Take a screenshot of your beautifully designed timer, maybe add some text over it like "Only 3 Days Left!", and then link that entire image directly to your event's landing page. This technique gives you that same sense of urgency and drives clicks without getting tripped up by email clients' technical rules. It's a simple, effective way to get the job done.
Ready to build a professional countdown timer that gets your audience excited? The Countdown Timer App makes it incredibly easy to design, customize, and launch a timer for your website or Facebook page in just a few minutes. Create your free countdown timer today! and see the difference for yourself.


